The Ultimate Guide to Preparing Your House for Interior Painting
Why Proper Preparation is Essential
When it comes to painting the interior of your home, proper preparation is key to achieving professional results. Not only does it ensure a smooth and long-lasting finish, but it also allows for better adhesion of the paint, saving you time and money in the long run. Hughes Painting Inc. understands the importance of thorough preparation, and in this guide, we will walk you through the essential steps to prepare your house for interior painting.
Gather the Right Tools and Materials
Before you begin preparing your house for painting, it's crucial to gather all the necessary tools and materials. Having the right equipment will help you complete the job efficiently and effectively. Here are some items you'll need:
- Drop cloths or plastic sheets
- Painter's tape
- Sandpaper or sanding block
- Putty knife
- Primer
- Paint rollers and brushes
- Paint trays
- Extension poles
- Cleaner or TSP (Trisodium Phosphate)
- Bucket
- Lint-free cloths
- Step ladder or scaffolding
Clear and Protect the Work Area
To prevent damage to your furniture and floors during the painting process, it's crucial to clear and protect the work area. Move furniture to the center of the room or, even better, remove it entirely from the space if possible. Cover any remaining furniture with drop cloths or plastic sheets to shield them from paint splatters. Use painter's tape to secure the coverings in place and protect your baseboards, window frames, and door frames.
Repair and Prepare the Surfaces
Before you start painting, it's important to inspect and repair any damaged surfaces. This includes fixing cracks, holes, and dents in the walls or ceilings. Use a putty knife to apply spackling paste or filler to these imperfections, ensuring a smooth and even surface. Allow the filler to dry completely, and then sand it down until it's flush with the surrounding area.
Next, take some sandpaper or a sanding block and lightly sand the surfaces you plan to paint. This will promote better paint adhesion and help smooth out any rough areas or imperfections. Remember to wipe away any dust or debris with a lint-free cloth before moving on to the next step.
Clean and Degrease the Surfaces
Dirt, grease, and other contaminants can prevent paint from adhering properly to the surfaces. To ensure a clean and flawless paint job, it's essential to thoroughly clean and degrease the walls and ceilings. Mix a solution of mild detergent or TSP (Trisodium Phosphate) with water in a bucket. Dip a sponge or cloth into the solution and gently scrub the surfaces, paying close attention to areas prone to dust accumulation or grease buildup.
Rinse the walls and ceilings with clean water to remove any residue. Allow them to dry completely before proceeding to the next step. Proper cleaning and degreasing will provide a fresh canvas for your paint, resulting in a professional-looking finish.
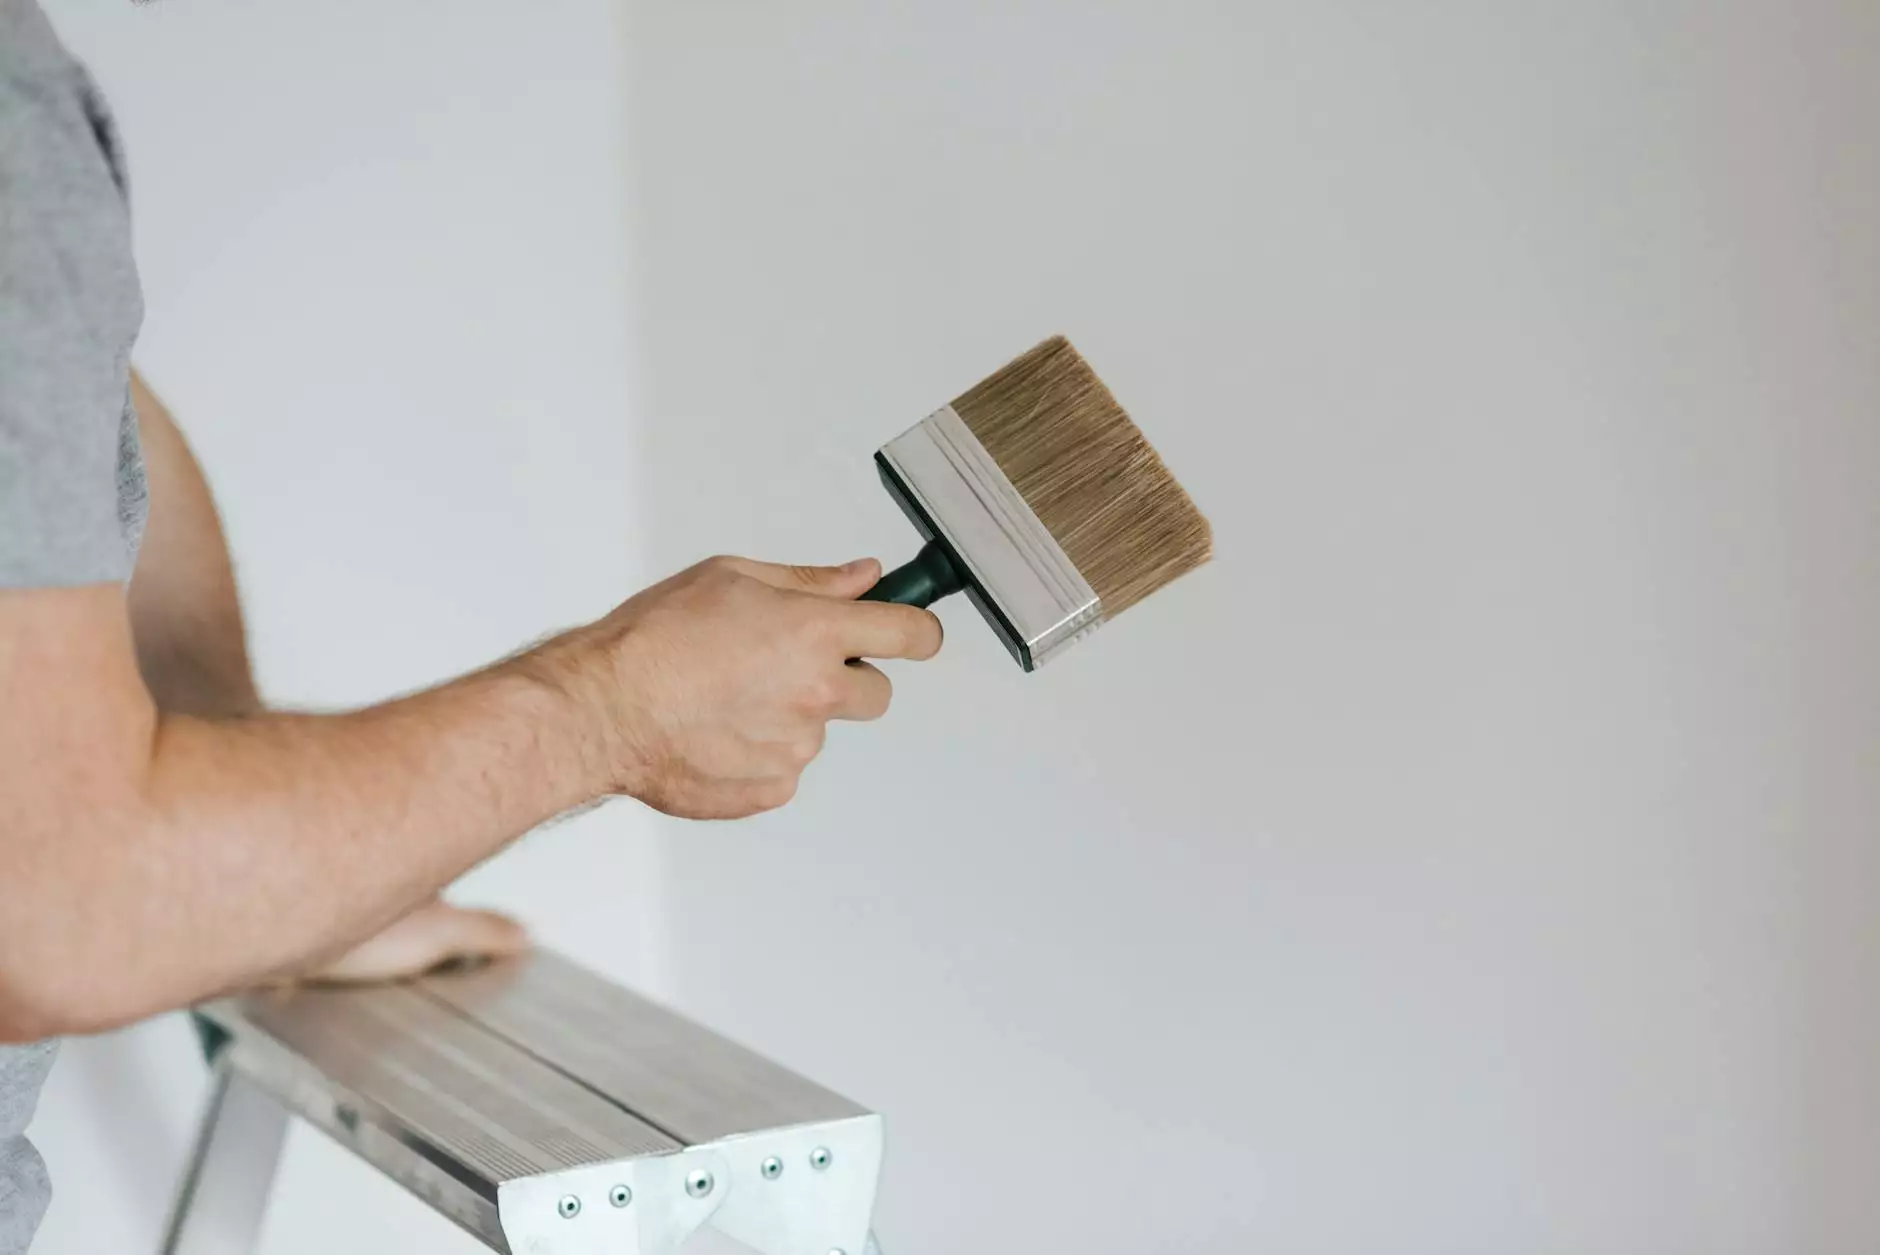
Apply Primer
Priming the surfaces before painting is an important step that should never be skipped. Primer helps the paint adhere better and provides an even base for the color. It also helps to cover up any existing stains or discoloration on the walls.
Choose a primer that is suitable for your specific surface, whether it's drywall, wood, or previously painted walls. Apply the primer using a roller or brush, starting from the top and working your way down. Make sure to cover the entire surface evenly and allow the primer to dry according to the manufacturer's instructions.
The Best Techniques for Painting
Now that your surfaces are properly prepared, it's time to unleash your creativity and add color to your space. Follow these tips from Hughes Painting Inc. to ensure a smooth and professional-looking paint job:
- Start with cutting in: Use a brush to paint along the edges, corners, and uneven areas that a roller may not reach.
- Choose the right roller and brush: Consider the type of surface you're painting and select the appropriate roller nap and brush bristle material.
- Use the W technique: When using a roller, form the letter W on the surface and then fill it in for consistent coverage.
- Work in small sections: Paint one manageable section at a time to maintain a wet edge and prevent visible brush or roller marks.
- Apply multiple coats if needed: Depending on the color and desired opacity, you may need to apply two or more coats of paint. Allow sufficient drying time between each coat.
Clean Up and Inspection
After you've finished painting, it's essential to clean up properly and inspect your work. Remove the painter's tape before the paint dries to avoid peeling off the fresh paint along with it. Clean your brushes, rollers, and other tools with water or the appropriate cleaning solution.
Take some time to appreciate your work and inspect the painted surfaces for any touch-ups that may be needed. Whether it's uneven coverage or minor imperfections, addressing them immediately will ensure an impeccable finish.
Conclusion
Preparing your house for interior painting may require some time and effort, but the results are well worth it. By following the steps outlined in this guide, you'll be able to achieve professional-quality results that will transform your space. Remember, proper preparation is the foundation for a successful paint job, and Hughes Painting Inc. is here to help you every step of the way.
For all your home service needs and expert painting services, trust Hughes Painting Inc. With years of experience and a passion for excellence, we are committed to delivering extraordinary results for our clients. Contact us today to discuss your project and schedule a consultation with our team of skilled painters.
preparing house for painting interior