Shooting a Timelapse Video: A Comprehensive Guide for Photographers
Understanding Timelapse Video: What It Is and Why It's Popular
Timelapse photography is a fascinating technique that allows you to capture a sequence of images at set intervals to show changes that take place gradually over time. When played at normal speed, time appears to be moving faster, thus enabling viewers to witness events that usually occur too slowly for the naked eye to perceive.
This technique has gained immense popularity in various fields, including real estate photography, nature documentaries, and urban cityscapes. The stunning visuals created through timelapse videos can enhance the storytelling aspect of various projects.
The Essential Equipment for Shooting a Timelapse Video
When it comes to shooting a timelapse video, having the right equipment is crucial. The following items are essential for achieving high-quality timelapse footage:
- Camera: A DSLR or mirrorless camera with manual settings is highly recommended. This gives you full control over exposure, shutter speed, and focus.
- Tripod: Stability is key in timelapse photography. A sturdy tripod helps prevent camera shake and ensures consistent framing.
- Intervalometer: This device allows you to set the interval at which your camera takes photos. Some cameras come with built-in intervalometers, but external ones can provide more flexibility.
- Lens: Choose a lens suitable for the scene you want to capture. A wide-angle lens is often preferred for landscapes, while a standard lens can be great for cityscapes.
- Extra Batteries: Timelapse shooting can take a long time, and having extra batteries ensures you don’t miss any important moments.
- Memory Cards: High-capacity memory cards can store thousands of images. Make sure you have enough space for your entire shoot.
- Post-processing Software: After shooting, you’ll need software to compile your images into a video. Programs like Adobe Premiere Pro, Final Cut Pro, or even specialized timelapse software can be utilized.
Preparing for Your Timelapse Shoot: Tips and Techniques
Preparation is crucial for a successful timelapse video. Here are some valuable tips:
Choosing the Right Location
Identify a suitable location that offers a clear view of the change or movement you want to capture. Popular options include:
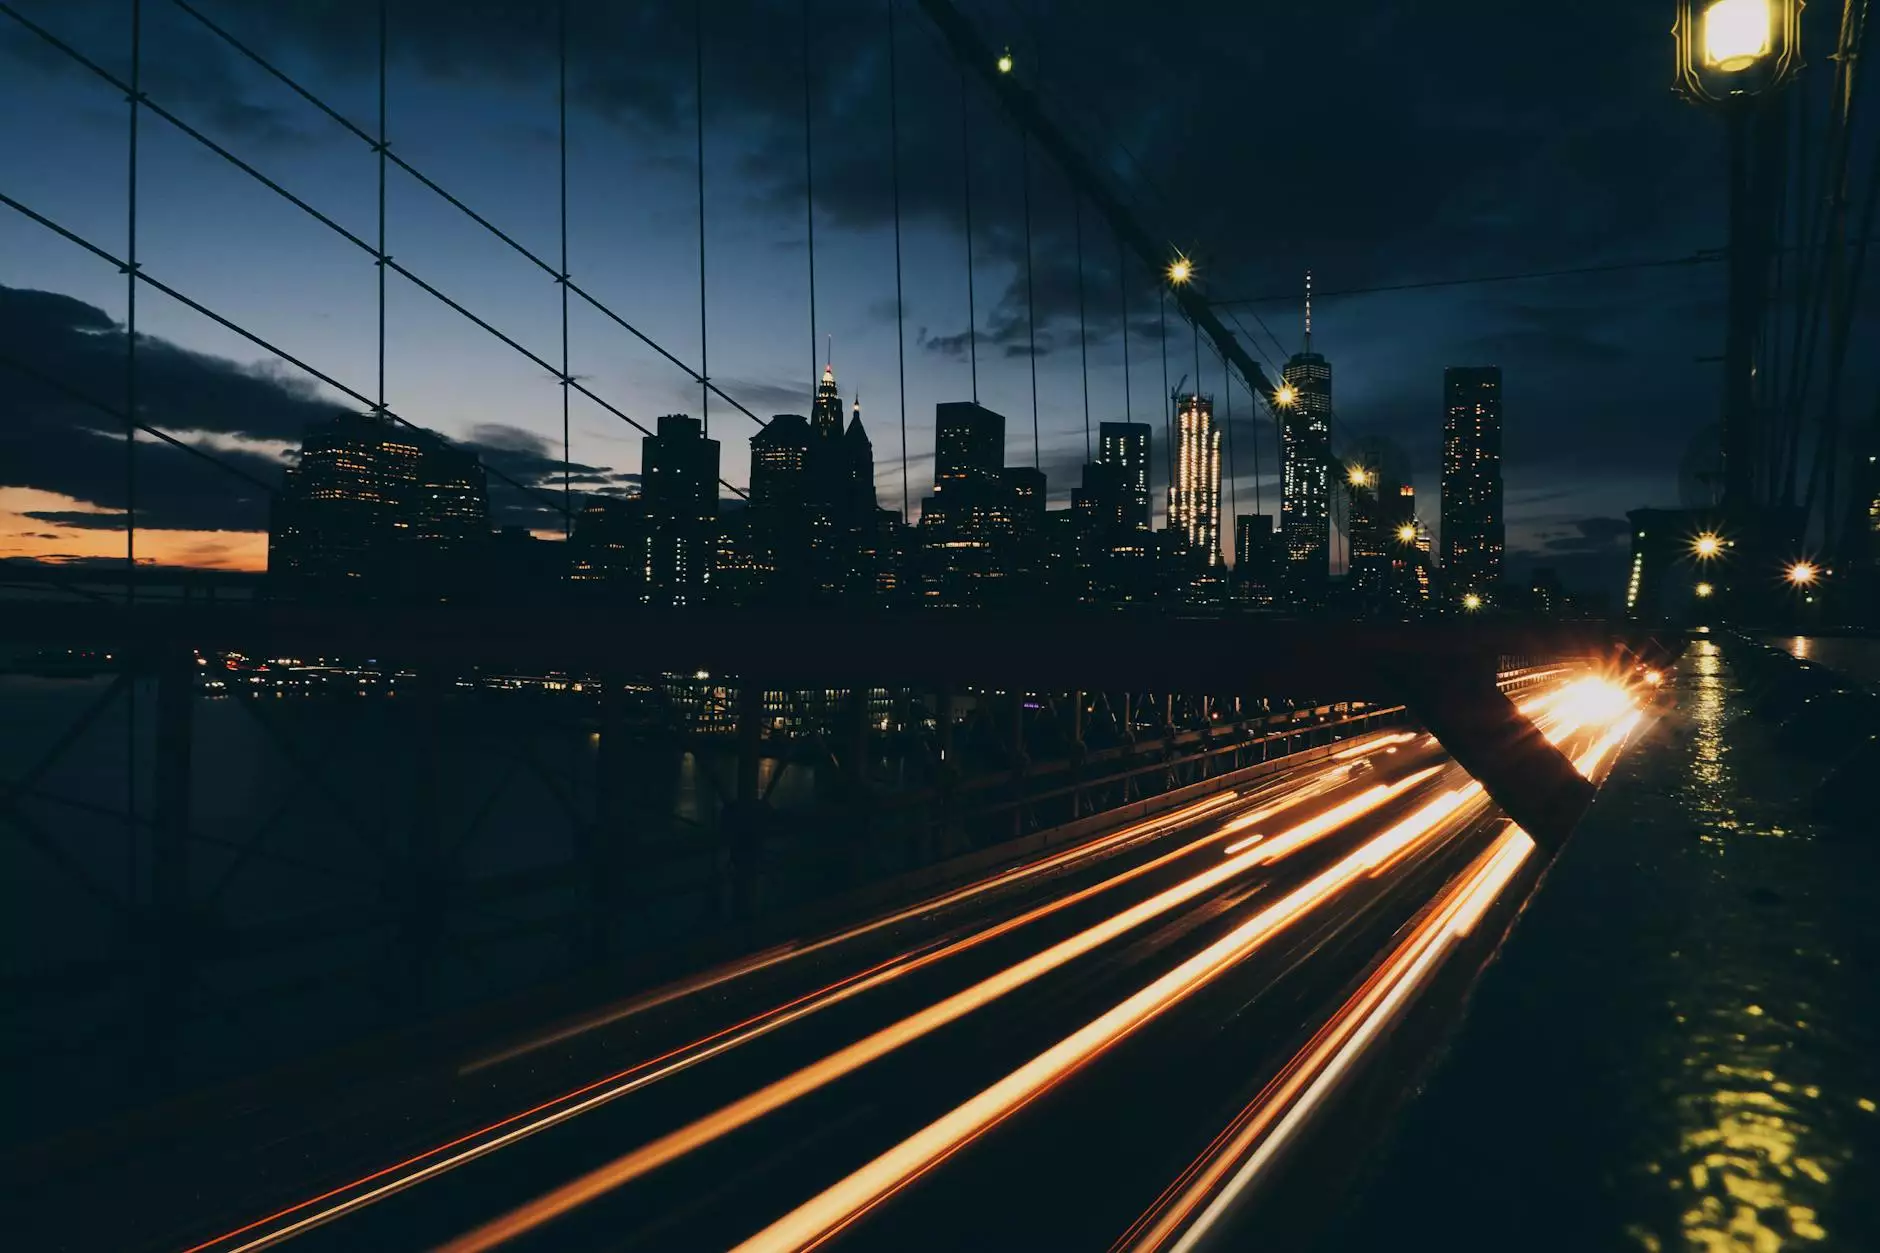
- Urban environments where you can capture the hustle and bustle of city life.
- Natural landscapes for capturing stunning sunsets, blooming flowers, or cloud movement.
- Construction sites to show the progression of building processes.
- Real estate properties to showcase them from dawn to dusk.
Setting Up Your Camera
Set your camera to manual mode for full control. Here are some parameters to adjust:
- Aperture: A smaller aperture (higher f-stop number) increases depth of field, helping keep more of the scene in focus.
- ISO: Use the lowest ISO setting possible to reduce noise.
- Shutter Speed: Choose a shutter speed that complements the speed of movement in your scene.
Interval and Duration
Determining the interval at which to capture images is vital:
- Faster changes (like moving clouds) may require 1-5 second intervals.
- Slower changes (like a sunset) might need intervals of 10-30 seconds or more.
Keep in mind the duration of the entire shoot, as this will affect your final video length. A good rule of thumb is that you need a minimum of 24 frames per second for smooth playback.
Shooting the Timelapse Video: Best Practices
Stabilize and Secure Your Setup
Before starting the shoot, check that your tripod is stable and secure. If possible, choose a location that is less prone to interruptions, such as pedestrian traffic or animal movement.
Monitor Your Settings
Regularly check your camera settings while shooting. Lighting conditions may change, which can affect exposure. Use manual exposure settings for consistency. Avoid using auto mode as it may lead to fluctuations in brightness.
Patience is Key
Timelapse photography requires patience. Allow your camera to capture enough images before you stop the shot. The more images you collect, the smoother and more compelling your video will be.
Be Aware of Movement
Consider the movement in your scene. Whether it's clouds drifting, shadows lengthening, or city lights twinkling, ensure the motion is dynamic enough to make the final video engaging.
Editing Your Timelapse Video
After shooting, the next step is to create your final timelapse video from the captured images. Follow these steps for a professional finish:
Importing Images
Load your images into your chosen editing software. Organize them in the correct sequence to maintain the natural flow of motion.
Creating the Timelapse Sequence
Select all images and set the frame duration according to your desired playback speed. For example, if you want a standard 24 frames per second, each frame should be on-screen for approximately 0.0417 seconds.
Adjusting Speed and Playback
Fine-tune the speed of your timelapse. This is crucial for creating a video that feels smooth and captivating. Experiment with different rates until you find the magical balance that best displays the changes you're trying to depict.
Adding Music and Effects
Once your images are sequenced correctly, consider adding background music or sound effects to enhance the viewing experience. Keep in mind that the audio should complement the visuals without overpowering them.
Rendering Your Video
After making all necessary edits, render your video in a suitable format. Common formats for timelapse videos include MP4 and MOV, which are widely supported on various platforms.
Sharing Your Timelapse Video
Once your timelapse video is complete, it's time to share it with the world! Here are some platforms where you can showcase your work:
- YouTube: The largest video-sharing platform, where you can reach a massive audience.
- Vimeo: A platform favored by filmmakers and photographers for its high-quality playback options.
- Social Media: Share snippets on platforms like Instagram, Facebook, or TikTok to engage with your audience instantly.
- Your Own Website: If you have a website like bonomotion.com, use it as a portfolio to showcase your timelapse videos and drive traffic to your photography services.
Common Challenges in Shooting Timelapse Videos and How to Overcome Them
While shooting a timelapse video can be rewarding, several challenges might arise during the process, including:
Lighting Changes
One common challenge is naturally occurring lighting changes over the course of a shoot. To minimize this effect, shoot during times when lighting conditions are relatively consistent, such as during sunset when the light gradually changes.
Camera Shake
Camerashake can ruin an otherwise beautiful timelapse. Always use a high-quality tripod and ensure that it’s firmly placed and stable. If shooting in windy locations, consider adding weight to the tripod to ensure stability.
Patience and Time Management
If you don’t allocate enough time for the captures, you might end up with incomplete footage. Plan ahead and give yourself ample time, especially if shooting outdoors where environmental factors can alter conditions.
Conclusion: Mastering the Art of Timelapse Photography
Shooting a timelapse video is an enriching experience that requires dedication, skill, and the right equipment. With the tips and techniques outlined in this comprehensive guide, you’re well on your way to mastering this captivating art form.
Remember, the journey to creating stunning timelapse videos is filled with experimentation, and each project offers a unique opportunity to learn and grow as a photographer. So grab your camera, find an exciting scene, and start capturing the beauty of time in motion!
For more information about photography services, visit bonomotion.com.